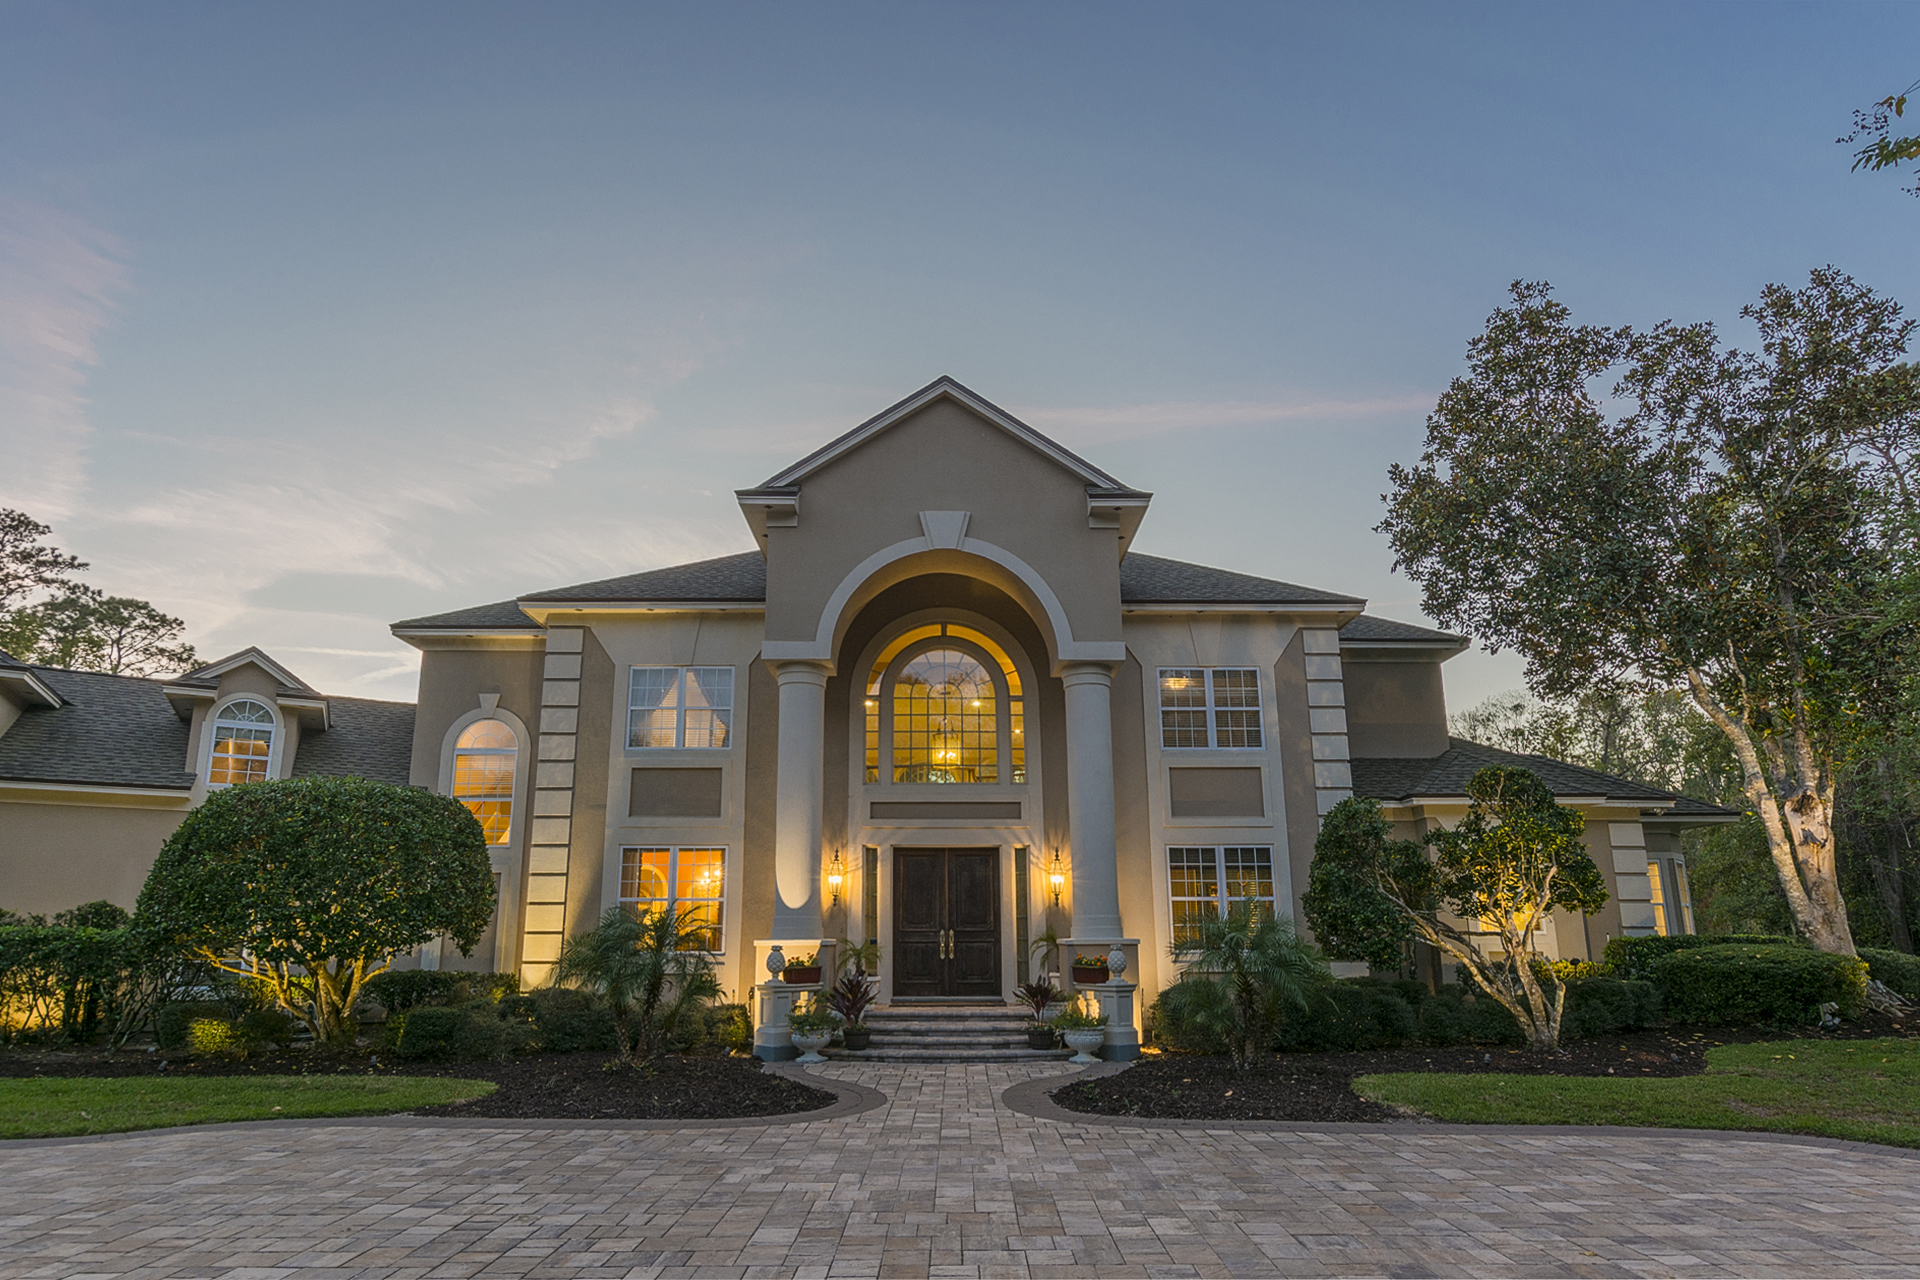
Twilight Architecture Photography
One of the hottest marketing tools for high-end architecture photography is the twilight shot. It will help your listings and/or portfolio stand out from the rest. With the unique landscape lighting, interior lighting, various tones and unique light of the sunset, an emotional connection can be made that a traditional daylight shot can sometimes struggle to equal.
The process of capturing a twilight shot is fairly straight forward, but like with any art, there are various ways to do so. The two methods I use, depend on the project goals and budget. One allows for a few photos while the other limits the photographer to two-three images, depending on the size of the structure being photographed. We’ll call these Standard Twilight and Light Painted Twilight.
If quantity is more important than quality, standard twilight photos are fine and can give beautiful results if there is adequate outdoor lighting. These shots rely on ambient light and the light given off by the subject. Of course, there is always photoshop trickery, but nothing can perfectly recreate true light. If your end goal is to spend less time in photoshop, then this is the method for you.
The way I captured the image above is to wait until about 20 minutes after sunset with a cloudless sky. I set my camera on a tripod, set the mode to manual, white balance to auto, aperture to f8, shutter to ½ and then I snap one remotely or with a timer. This will give you an underexposed image, but if you shoot RAW, you’ll have plenty of dynamic range to bring up the shadows and darken the highlights in your favorite photo app to perfectly balance the image. Just make sure you avoid clipping in your histogram.
You may find that shooting bracketed will help with this step but I find it can hurt. Since we’re shooting outside, any wind will shift trees around (low shutter speed) and you won’t be able to perfectly blend your images. You can get around this by not masking in the trees and using only one of the shots, but doing an automatic HDR doesn’t really work in low-light outdoor settings unless there is no wind.
Light Painted Twilight - The amount of layers extends below my 5k monitor!
The light paint method takes significantly more time and will generally only allow for one or two images, depending on how many shots will be needed to create your one image. This is a photoshop heavy method requiring blending of many photos. Unlike HDR, which is automated to a degree, this requires hand masking. If you’re not too keen on photoshop and you need more than one or three images, this method isn’t for you. However, if you can look past these two drawbacks, this method gives by far the best result if done correctly.
The process starts just like the standard twilight shot. What changes is that you need a long timer on your camera or the ability to wirelessly trigger the shot if you don’t have an assistant. The next thing you’ll need is a light on a pole. I use a Neewer speedlight on a long pole and a pocket wizard wireless trigger system. I do a couple base exposures without the flash around 10-15 minutes after sunset on a clear night.
Once the sky is just darker than the interior ambient lighting, I go to work with the flash. I get a good exposure with the flash then I walk around the entire scene in the viewfinder and pop off flashes over every major area. Interesting walk-ways and plants are important to include in this too. This step (act of lighting subject) can be modified. You can use a flashlight, spot light, just about any light that you want. I like the speedlight as I find it very flexible.
With the image below, the shoot itself took about 20 minutes and by the time I was done it was too dark to continue. Once I got all the images loaded up into my computer, I start the blending process. I picked my best base exposure and did some minor retouching. Next up I grouped and labeled each major area of the scene. This is a very important step as it’ll make it easier when you’re going over the final image before output and you need to make a change.
As you can see, by adding twilight photography to your listing or portfolio, you’ve now got a bit of drama that before was probably lacking. With a little bit of practice, you too can create these types of images.


